
Installing the MK Kit on my Kyocera M2040dn was easier than I thought! With a step-by-step guide, I replaced the maintenance kit in under 15 minutes. It restored my printer’s performance, and I saved money by doing it myself!
How to install mk kit on kyocera m2040dm, it is quick and easy. It restores printer performance and ensures smooth operation. Follow these steps to get started!
Stay tuned with us as we dive into everything you need to know about “How to Install the MK Kit on Kyocera M2040dn.” Get ready for quick and easy steps!
MK Kit Explained – What It Is and Why You Need It!
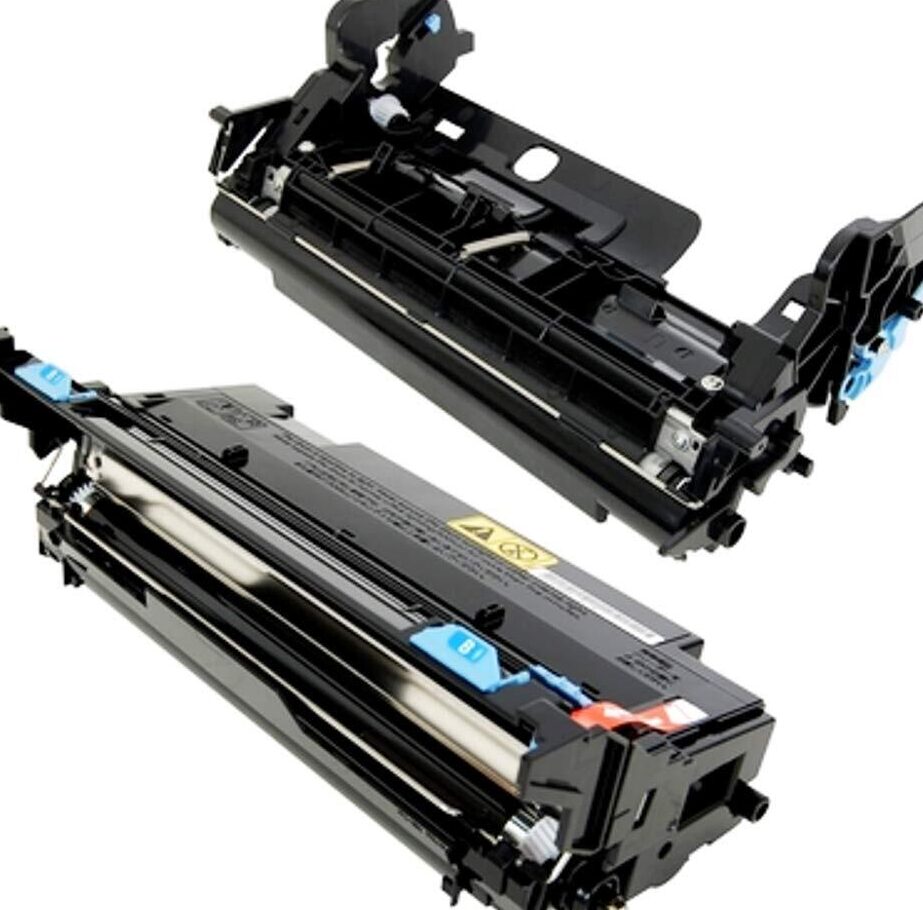
How to install mk kit on kyocera m2040dm, An MK kit is a collection of replacement parts designed to keep your Kyocera printer functioning optimally. Over time, components like the drum unit, developer, and transfer rollers wear out, leading to poor print quality, frequent paper jams, and potential damage to the printer.
Components of the MK Kit
- Drum Unit – Transfers toner to the paper.
- Developer Unit – Ensures consistent toner distribution.
- Transfer Rollers – Moves toner from the drum to paper effectively.
- Cleaning Components – Keeps internal parts free from debris.
Regular replacement of the MK kit enhances printer efficiency, reduces downtime, and extends the lifespan of your device.
Why and When to Replace the MK Kit – Stay Ahead of Issues!
Signs You Need to Replace the MK Kit:
Faded or streaked prints, frequent error messages on the printer display, and an increase in paper jams are clear indicators that it may be time to replace the MK kit. Additionally, maintenance counter warnings often signal that the kit has reached its limit and needs attention to ensure optimal printer performance.
Replacement Frequency
Most Kyocera MK kits are rated for a specific number of pages, usually between 100,000 and 200,000 pages. Consult your printer’s manual for detailed recommendations based on your usage.
Also Read: Aida Dzubur Cleaning Chicago – Top Cleaning Services in the City!
What Tools and Preparations Are Required – Your MK Kit Guide!
Before diving into the installation, gather these tools and prepare your workspace:
Tools Required:
- Screwdriver set.
- Lint-free gloves.
- Clean microfiber cloth.
- Protective mat or clean surface.
Workspace Preparation:
- Ensure a well-lit, clutter-free area.
- Use anti-static precautions to protect sensitive components.
- Have the Kyocera service manual handy for reference.
How to Install MK Kit on Kyocera M2040dm – Step-by-Step Guide!
Follow these steps to install the MK kit on your Kyocera printer:
Power Down and Unplug
Turn off the printer and unplug the power cord to eliminate any risk of electrical hazards. Allow the internal components to cool down completely before starting the maintenance process to ensure safety and prevent damage.
Open the Printer Front Cover
Locate the front cover of your Kyocera M2040dn printer and gently open it to access the internal components. Handle the cover carefully to avoid damage and ensure smooth access for maintenance.
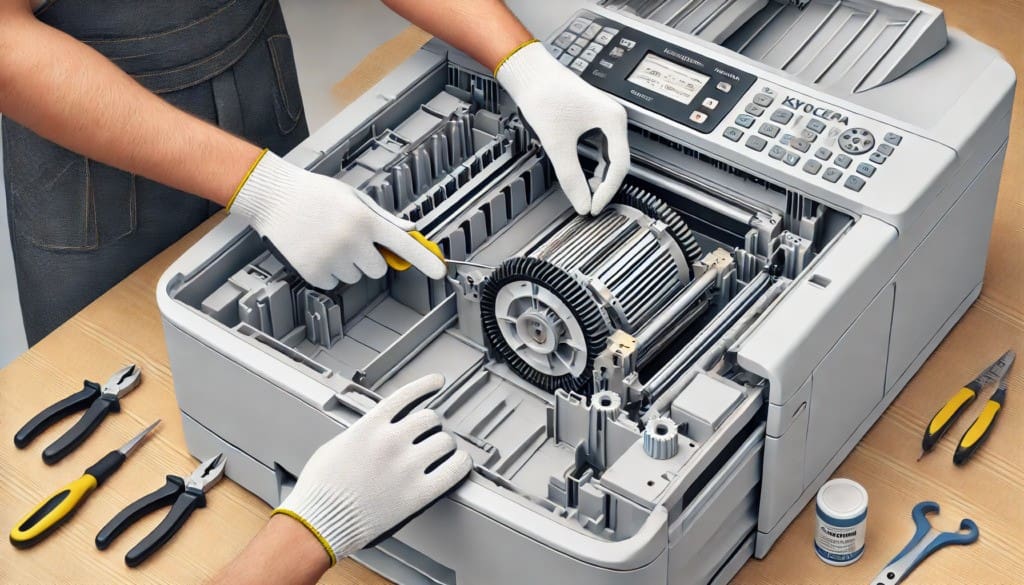
Remove the Old Drum Unit
Carefully slide out the drum unit, ensuring you avoid touching its surface to prevent damage. Place the old unit in a protective bag to prepare it for proper recycling.
Also Read: Wepbound – Transforming Digital Communication & Connectivity for Modern Needs
Replace the Developer Unit
Locate the developer unit inside the printer and carefully unscrew to remove the old unit. Align the new developer unit from the MK kit and securely install it in place.
Install the New Drum Unit
Insert the new drum unit carefully, ensuring it fits securely. Properly align the slots to prevent any operational issues during use.
Reset the Maintenance Counter
Access the printer’s maintenance menu and select the “Reset Maintenance Count” option. Confirm the reset to ensure the printer properly recognizes the newly installed components.
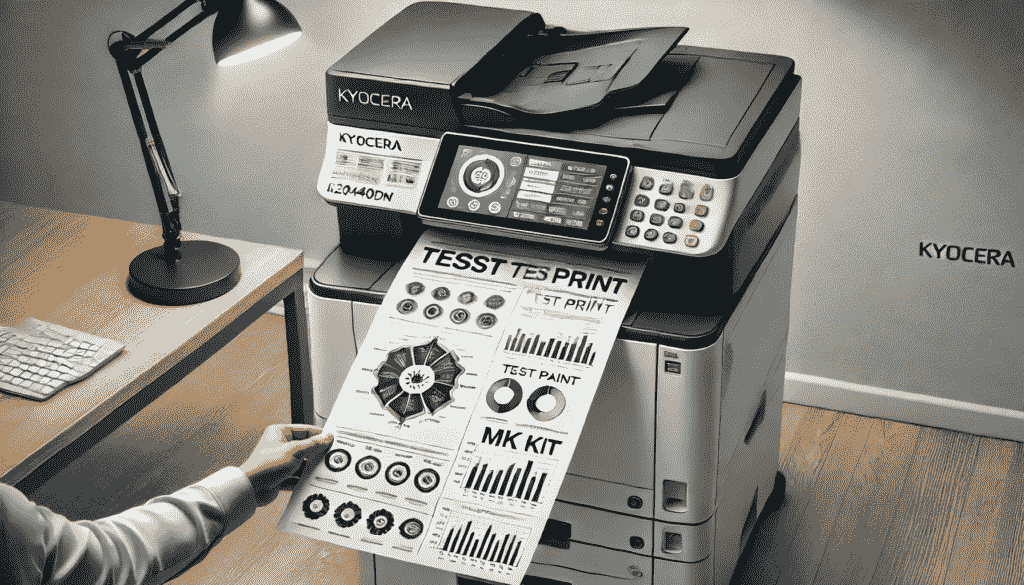
Test the Printer
Power the printer back on and run a test print to verify the proper installation of the components. Check for any errors or inconsistencies in print quality to ensure everything is functioning correctly.
Troubleshooting Made Easy – Tips for Hassle-Free Installation!
If you encounter issues during the process, consider these troubleshooting tips:
Problem: Drum Unit Misalignment
Solution: Double-check the alignment and ensure the unit clicks into place securely.
Problem: Printer Fails to Recognize New Components
Solution: Verify that the maintenance counter was reset correctly. Refer to the service manual for additional guidance.
Problem: Print Quality Issues Post-Installation
Solution: Clean any toner residue from the internal components using a microfiber cloth.
Also Read: TraceLoans – How It Works and Why You Need It In 2025
Benefits of Installing the MK Kit Yourself – Save Time and Money!
Save money by avoiding technician fees and replacing the MK kit yourself. Enjoy the convenience of performing the replacement on your own schedule without waiting for external assistance. Additionally, gain valuable hands-on experience in printer maintenance, enhancing your skills for future upkeep.
Environmental Considerations – Dispose Responsibly and Reduce Waste!
When disposing of old MK kit components, follow local recycling guidelines to ensure proper handling. Consider contacting Kyocera for information on their recycling programs, and utilize certified e-waste facilities to minimize environmental impact and promote eco-friendly practices.
Also Read: Coyyn.com – Revolutionizing Digital Transactions In 2025
Frequently Ask Questions
What tools do I need for MK kit installation?
You’ll need a screwdriver set, lint-free gloves, and a clean workspace.
How often should I replace the MK kit?
The replacement interval depends on usage. Check your printer manual for specific page count recommendations.
Can I reuse parts of the old MK kit?
No, using worn-out components may compromise print quality and cause printer malfunctions.
What happens if I don’t reset the maintenance counter?
The printer may display error messages and fail to function properly.
Does self-installation void the warranty?
Check your warranty terms to determine if self-replacement is allowed.
Conclusion
Installing the MK kit on your Kyocera M2040dm is a manageable task with the right tools and guidance. By following this step-by-step guide, you can maintain your printer’s performance, save costs, and gain valuable skills in printer maintenance.
Oliver is a skilled writer and content strategist at PreferKit, specializing in educational resources and language tips. With a passion for clear, engaging content, he simplifies complex topics while ensuring accuracy and SEO excellence. Follow his work for expert insights! 🚀
