I installed the MK Kit for my Kyocera M2040dn myself, and it was quick and easy! With basic tools and a guide, I saved time, money, and improved my printer.
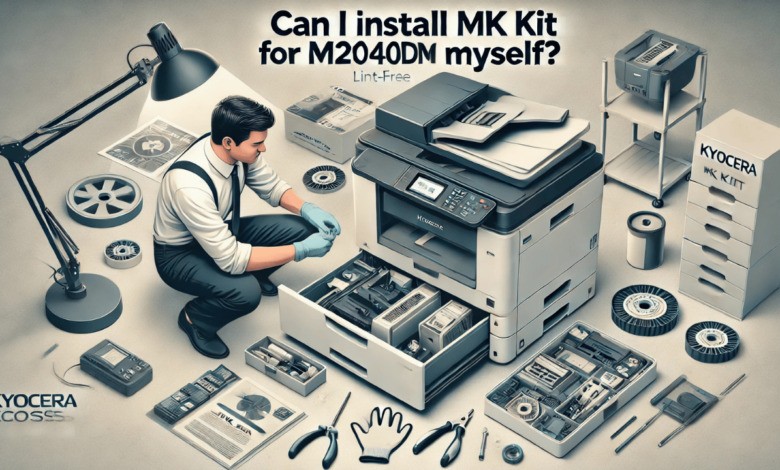
Can i install mk kit for m2040dm myself! Yes i can, The process is straightforward with basic tools and a guide. Save time and money by doing it at home!
Stay tuned with us as we explore the question, Can I install the MK Kit for M2040dn myself?Discover easy tips and steps to get the job done hassle-free!
What Is an MK Kit – Learn Why It’s Essential for Your Needs!
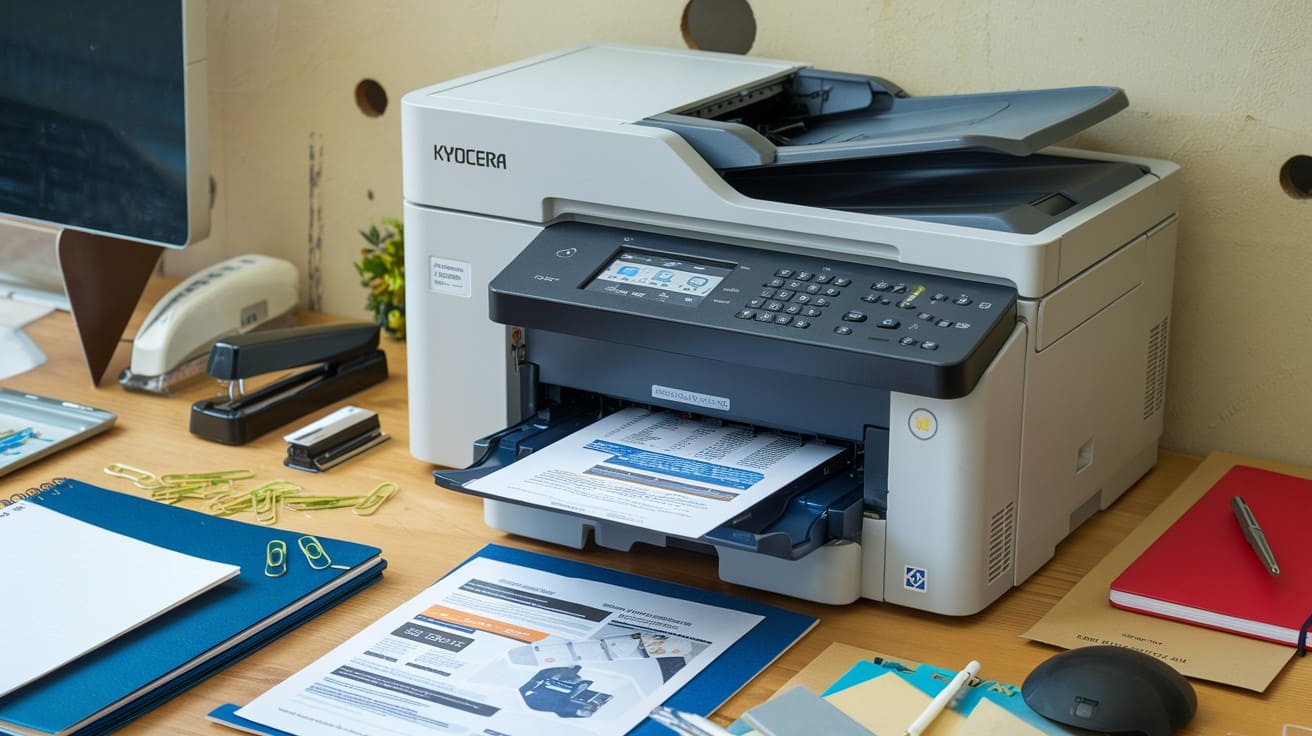
An MK kit, or maintenance kit, is a set of replacement parts specifically designed for printers like the Kyocera ECOSYS M2040dm. These parts wear out over time due to regular usage, leading to reduced print quality and increased mechanical strain. Replacing the MK kit restores the printer’s efficiency and extends its lifespan.
Key Components of an MK Kit
The drum unit transfers toner to paper for high-quality prints, while the developer unit ensures even toner distribution. Transfer rollers provide smooth toner transfer, and cleaning components keep the printer clean, preventing debris build-up for optimal performance.
By replacing these components, you ensure consistent performance, minimize downtime, and reduce the risk of costly repairs.
DIY MK Kit Replacement – Benefits You Can’t Ignore!
Performing this task yourself offers several advantages
Save money by avoiding technician fees and enjoy the convenience of replacing the MK kit at your own pace. Gain valuable printer maintenance skills while ensuring uninterrupted, high-quality results and improved efficiency.
Signs It’s Time to Replace the MK Kit – Don’t Ignore These Clues!
Not sure if your MK kit needs replacing? Look out for these signs:
- Decreased Print Quality: Faded, streaked, or smudged prints indicate worn-out components.
- Frequent Paper Jams: Worn transfer rollers often cause this issue.
- Error Messages: Maintenance notifications or warnings on the display are key indicators.
- Excessive Noise: Strange noises may suggest internal wear and tear.
If you notice any of these symptoms, it’s time to replace the MK kit.
Can i install Mk kit for m2040dm Myself – Tools & Preparations for MK Kit Replacement!
Essential Tools
A screwdriver set is essential for accessing internal components during maintenance, while lint-free gloves help prevent fingerprints and contamination. Use a microfiber cloth to clean internal surfaces gently, and a protective mat to ensure components remain safe throughout the process.
Also Read: Aida Dzubur Cleaning Chicago – Top Cleaning Services in the City!
Workspace Preparation
Set up a well-lit, clutter-free workspace for easy handling, and take anti-static precautions to protect sensitive components. Have the Kyocera service manual ready for quick reference during the process.
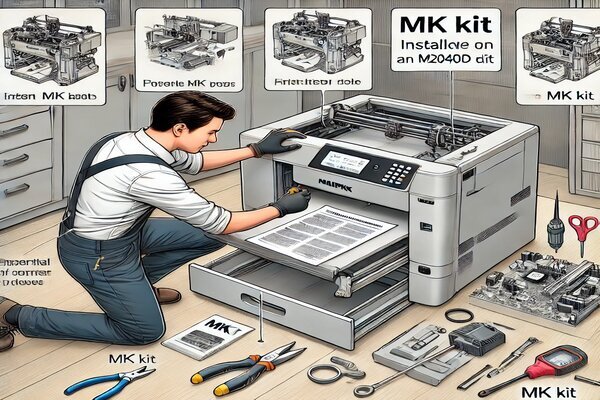
How to Install MK Kit for M2040dm Yourself – Step-by-Step Guide!
Power Down and Unplug
Turn off the printer and disconnect it from the power source. Allow the internal components to cool for safety.
Open the Printer Front Cover
Locate the front panel and gently open it to access the internal parts. Use the service manual if needed.

Remove the Old Drum Unit
Carefully slide out the drum unit without touching the drum’s surface. Place the old unit in a protective bag for proper disposal.
Replace the Developer Unit
Unscrew and remove the developer unit. Align the new developer unit correctly and secure it in place.
Install the New Drum Unit
Insert the new drum unit into the designated slots. Ensure it clicks securely into position to avoid operational issues.
Reset the Maintenance Counter
Access the printer’s control panel and navigate to the Maintenance Menu:
Select Reset Maintenance Count and confirm the reset.
This step ensures the printer recognizes the new components.
Also Read: Brume Marine Chalk Paint Ideas for a Stylish Desk Makeover!
Test the Printer
Reconnect the printer, turn it on, and perform a test print. Check for any irregularities in print quality or functionality.
Troubleshooting Common Issues – Quick Fixes for Smooth Operation!
Problem: Printer Doesn’t Recognize the New MK Kit
Solution: Verify that the maintenance counter was reset correctly. Revisit the menu to confirm the reset.
Problem: Poor Print Quality After Replacement
Solution: Clean the internal components with a microfiber cloth to remove toner residue.
Problem: Drum Unit Not Aligning Properly
Solution: Double-check alignment and ensure the unit is fully seated in its slot.
Disposing Smartly – Environmental Considerations for Waste!
Responsible disposal of old MK kit components is essential for reducing environmental impact.
- Recycle: Contact Kyocera or local recycling centers for proper e-waste handling.
- Avoid Landfills: Many printer components contain materials harmful to the environment.
Also Read: 5W USB C Rapido Caricatore 15509 – Compact & Reliable Charger!
Frequently Ask Questions
Can I install MK kit for M2040dm myself without prior experience?
Yes! With this guide and the right tools, even beginners can handle the process.
How often should I replace the MK kit?
Typically every 100,000 to 200,000 pages, depending on usage.
Will replacing the MK kit void my warranty?
Check your printer’s warranty terms, as self-replacement may void certain protections.
What tools do I need for the installation?
A screwdriver set, lint-free gloves, and a clean workspace are essential.
What happens if I don’t reset the maintenance counter?
The printer may display error messages and fail to operate correctly.
Conclusion
Replacing the MK kit on your Kyocera M2040dm printer is a straightforward task with the right guidance. By following this step-by-step guide, you can ensure your printer continues to deliver high-quality results while saving money and time. For more tips, explore our Printer Maintenance Guide and keep your device in top shape!
Oliver is a skilled writer and content strategist at PreferKit, specializing in educational resources and language tips. With a passion for clear, engaging content, he simplifies complex topics while ensuring accuracy and SEO excellence. Follow his work for expert insights! 🚀
